Follow the instructions below to install the PaperCut Print Deploy Client.
Note: Print Deploy currently only supports the Canon Global print queue
These links will not work outside the MHU campus network. Do not change the name of the downloaded file or setup will not work! If you have previously downloaded the installer you must delete that file before downloading it again.
You may also see a warning that the connection is not private or is a potential security risk. Click the “Advanced” button and select the option to continue. (This warning will look different depending on the browser used)
Windows PaperCut Print Deploy Client
MacOS PaperCut Print Deploy Client
Linux PaperCut Print Deploy Client
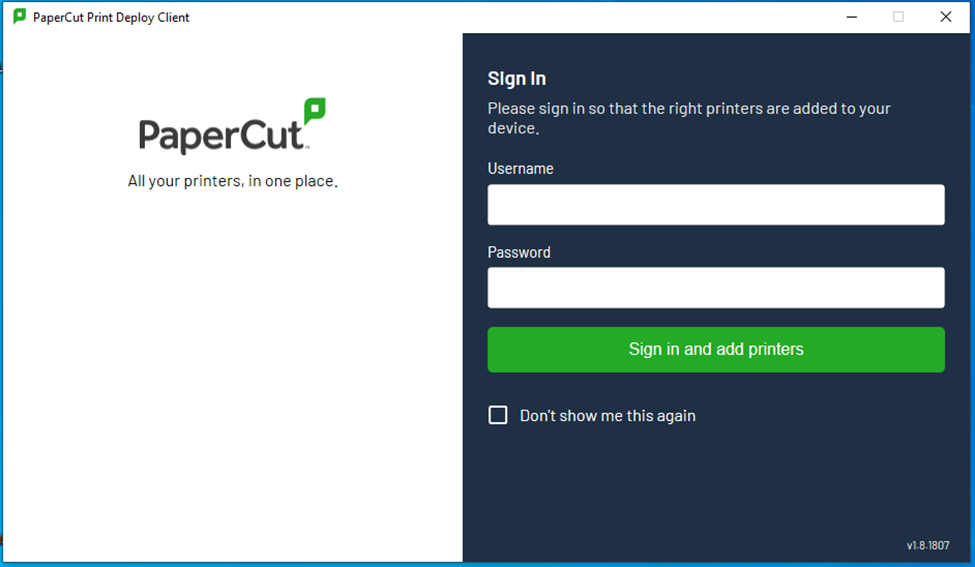
Once the Print Deploy software is installed you will be prompted to logon. Enter your MHU email address and password.
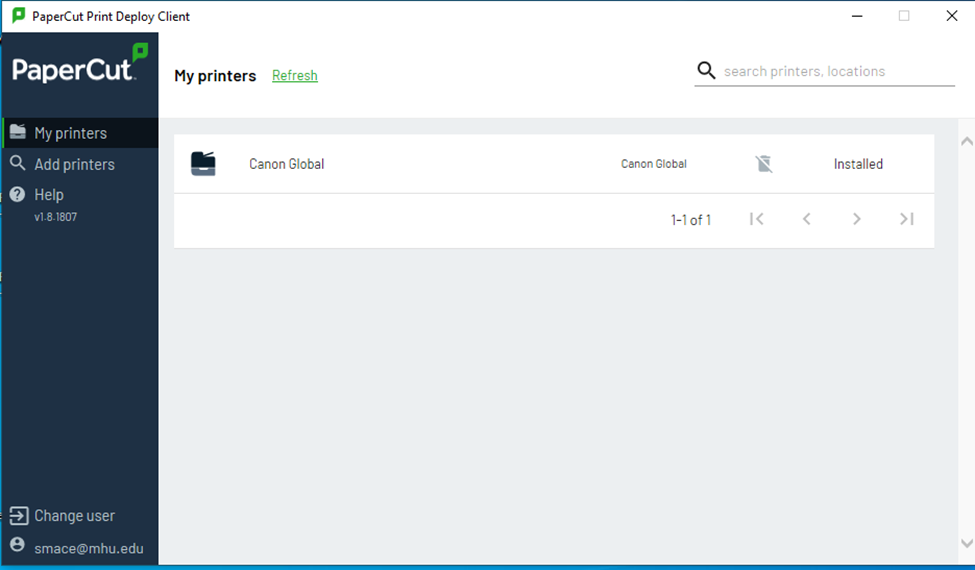
Once logged on you should see the “Canon Global” printer listed. You may see a green “Install” button to the right of the printer listing. If so, click it to install the printer to your computer.
You should now be all set! When you print select the “Canon Global” printer. You may then use your MHU ID card to release your print job from any Canon MFP on campus.